
Last updated November 15, 2026
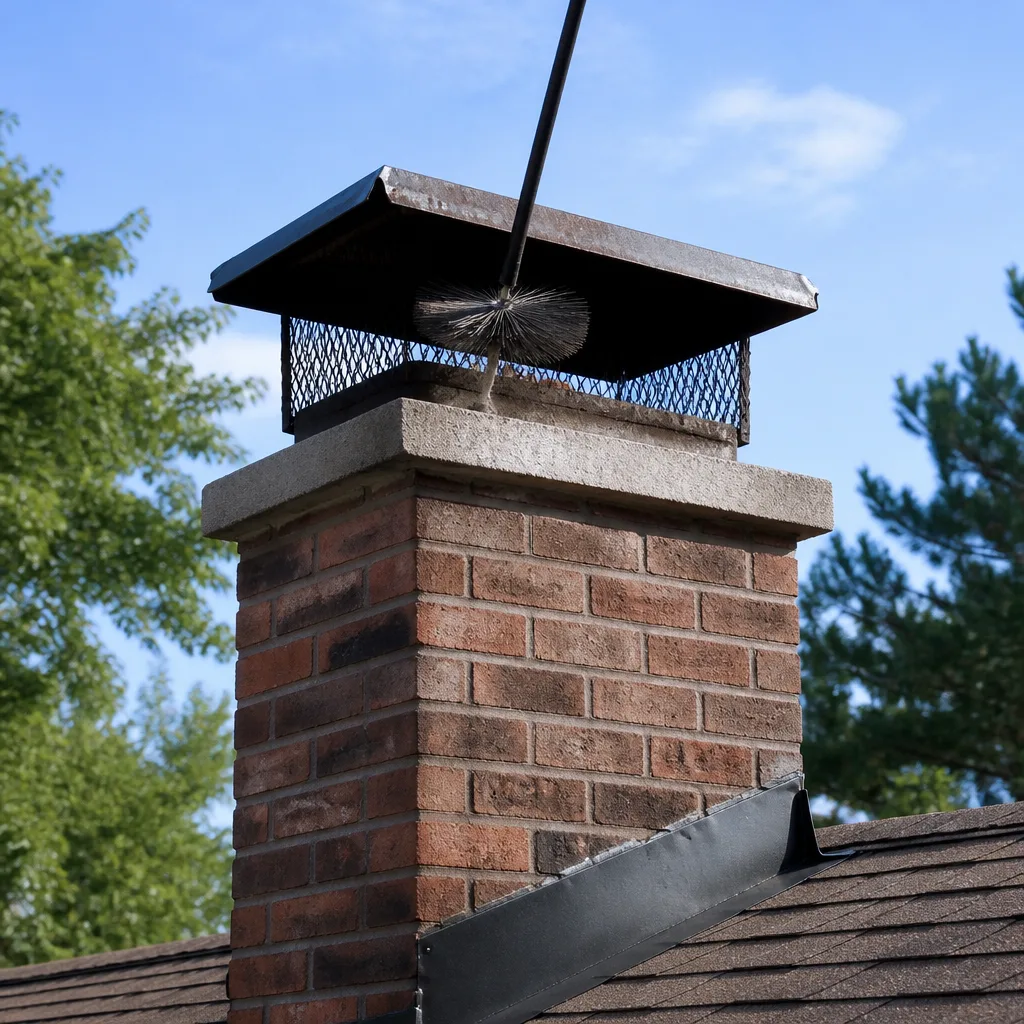 Sweep & inspection
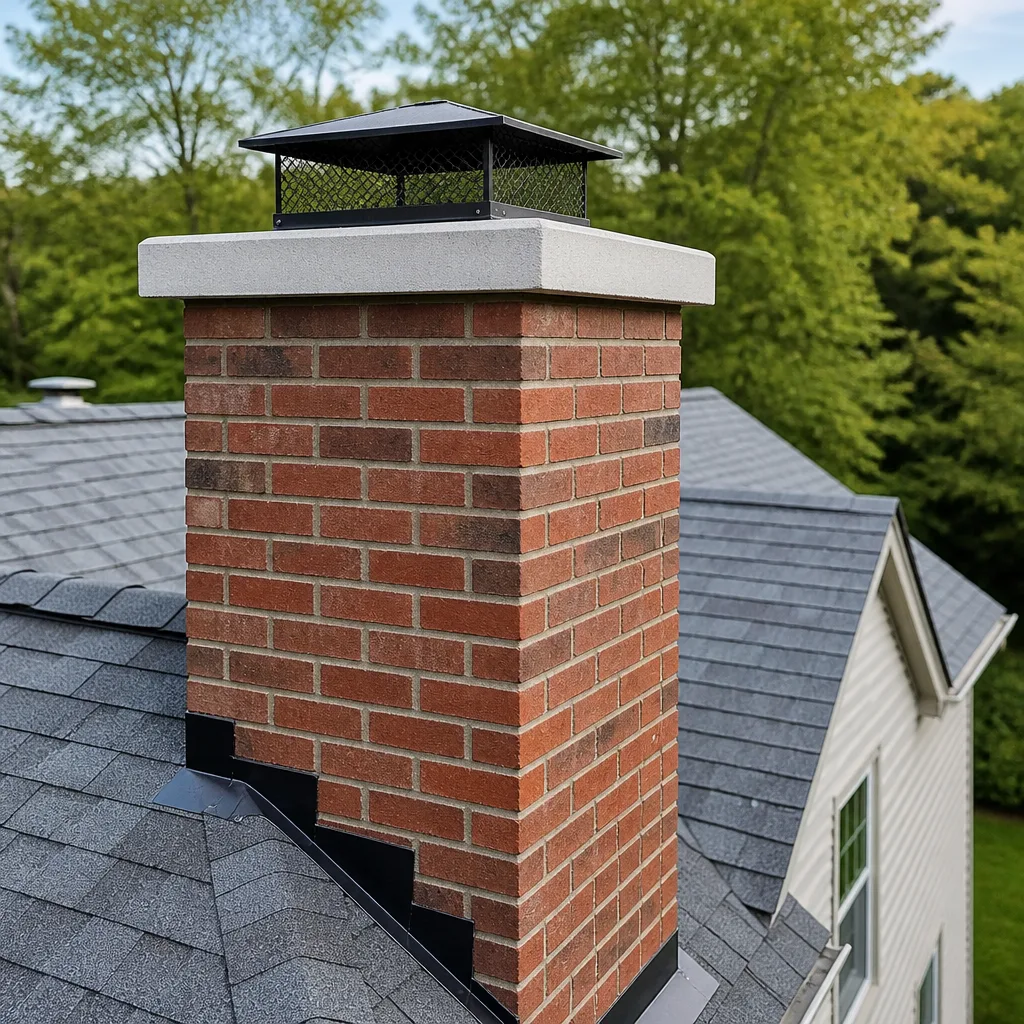 Caps & crowns
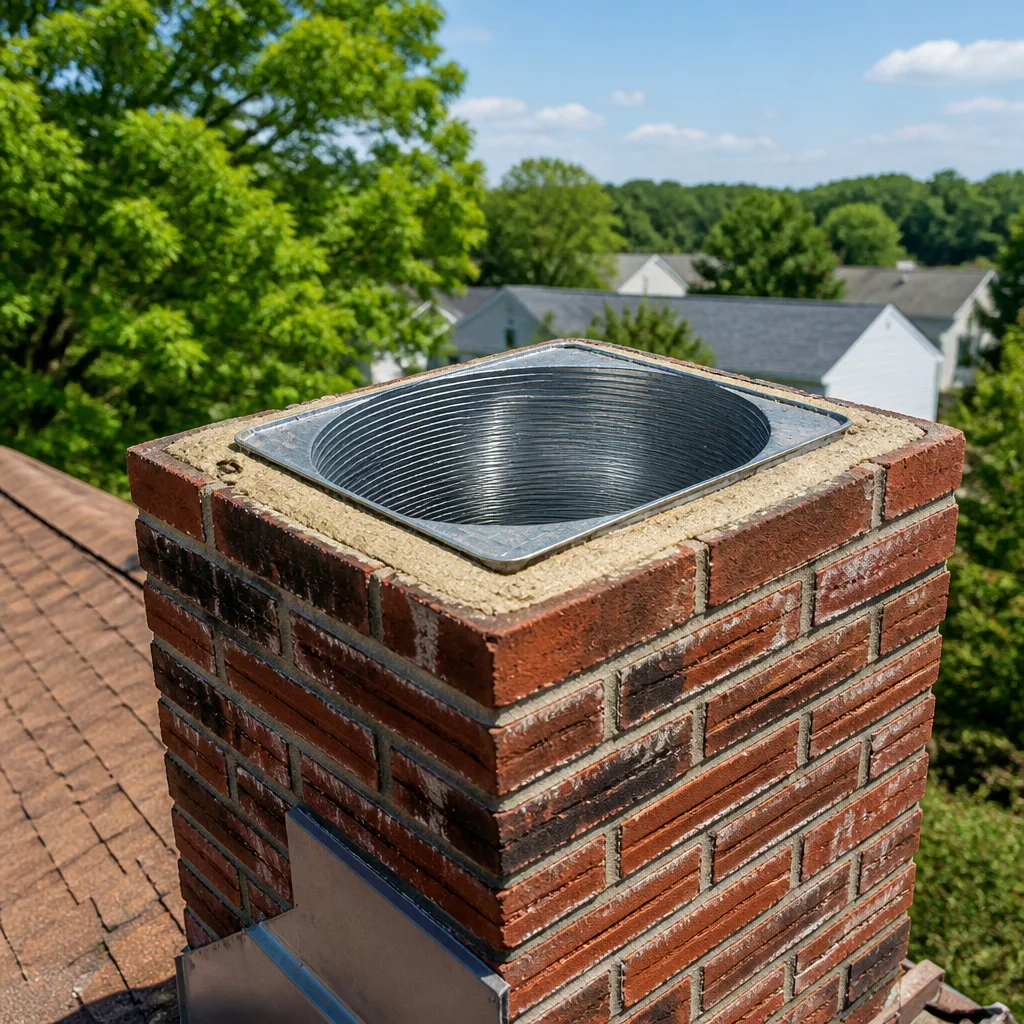 Flue relining
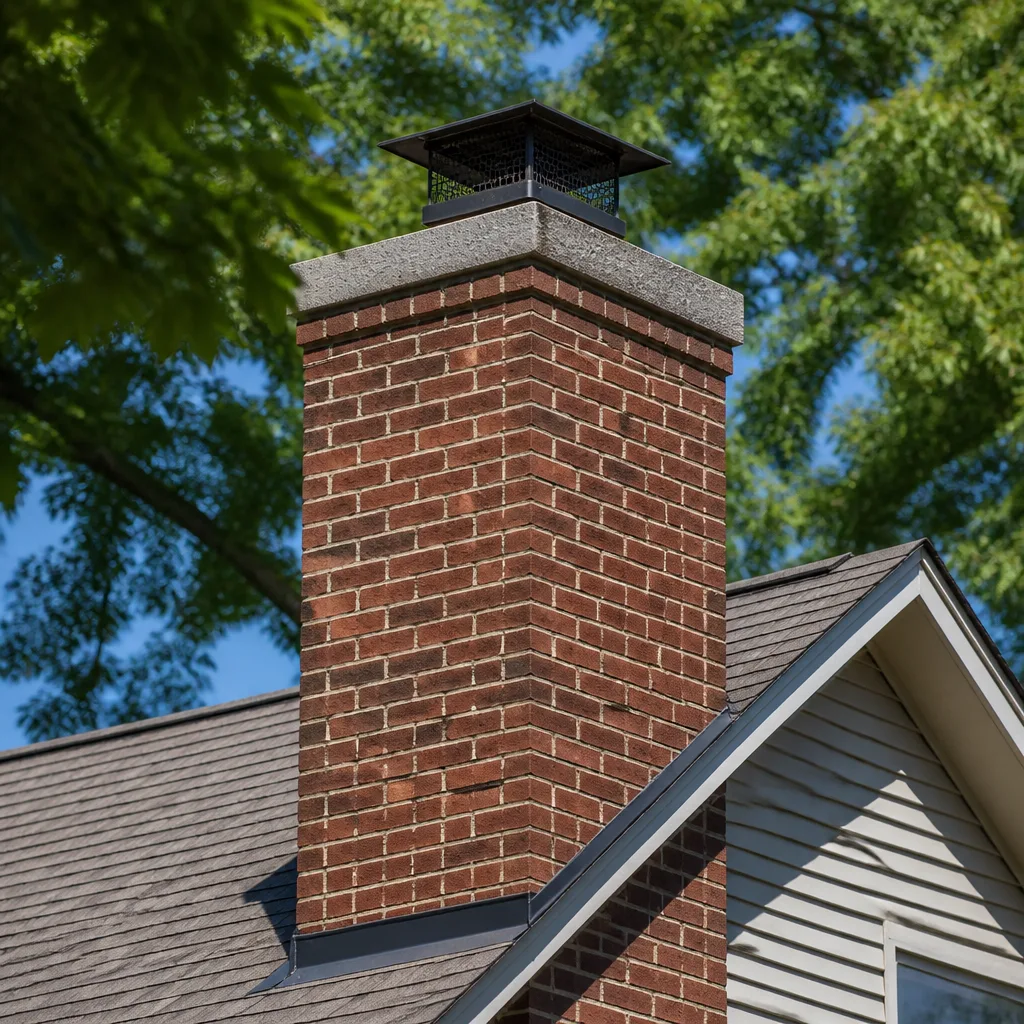 Masonry repair
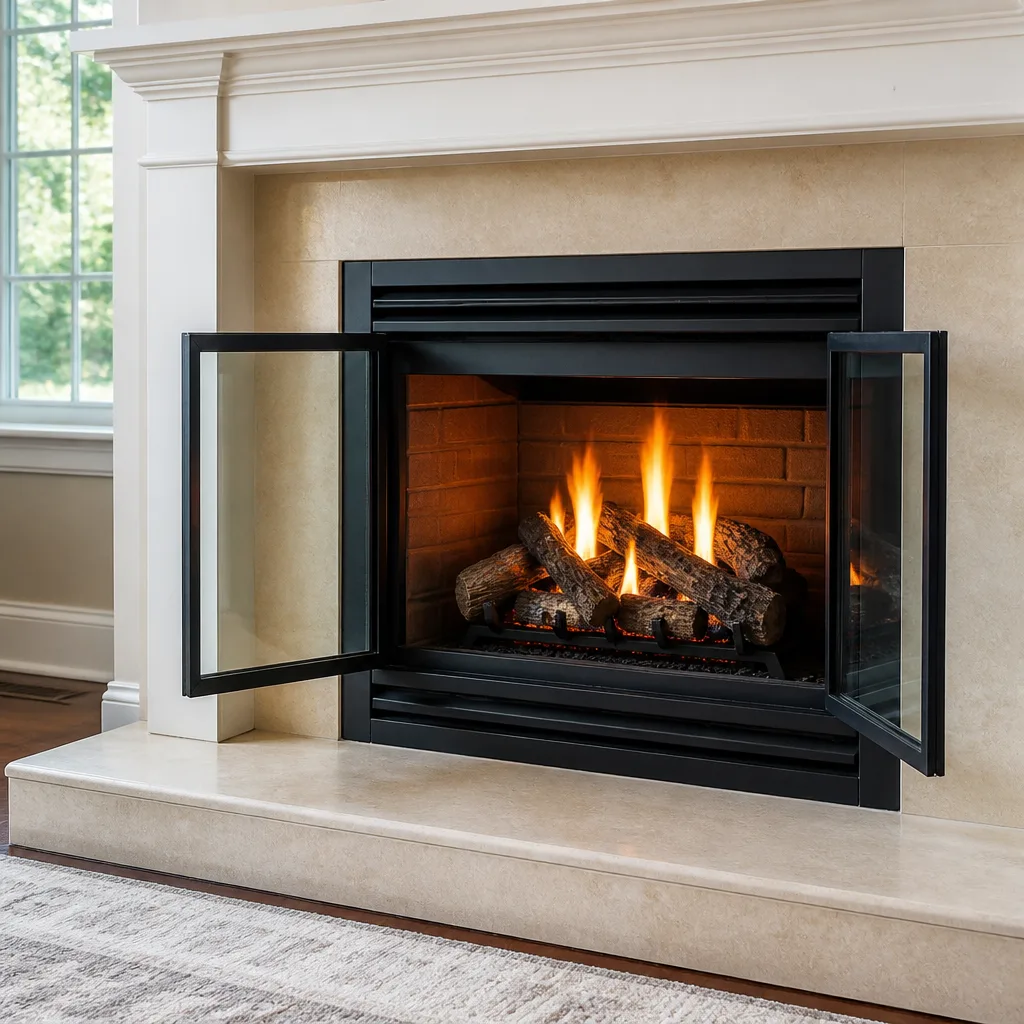 Gas fireplace service
Level 1 sweep and inspection to the NFPA 211 annual standard - flue, crown, cap, and flashing checked and photographed
Chimney sweep logs do not sweep chimneys. They loosen some creosote - which then falls where a brush and vacuum still have to collect it.
Chimney Cleaning Emergency Preparedness Guide for Suffolk Homes
Most people assume a chimney fire announces itself with a roar. Sometimes it does. Often it doesn’t. A chimney fire can present as a low crackle, a rumble you mistake for the furnace, or a burnt, acrid smell that lingers after the fire is out. The first three minutes matter more than anything the fire department can do later, and homeowners who haven’t thought ahead tend to make it worse before they make it better. This guide is about planning for that moment before it happens. We’ll walk through chimney fire response, carbon monoxide signals specific to flue and chimney failure, storm damage after high wind and heavy rain, what to photograph before a repair company arrives, and why a Level 2 inspection after any chimney fire isn’t optional. Suffolk homes see all three of these scenarios, and a little preparation goes a long way.
Quick Answer
For a suspected chimney fire, close the glass doors or damper if it’s safe to reach, get everyone out, and call 911. Do not re-light the fireplace until a certified inspector has performed a Level 2 inspection. For carbon monoxide alarms, treat the alarm as real, evacuate, and remember that chimney-system CO rarely smells like gas. After a storm, assess caps, crowns, and flashing from the ground and only photograph from a ladder if you’re fully comfortable with heights. The bottom line: preparation is a document, a plan, and a phone number, saved to your phone before you need them.
Styles & brands we work with
- Sweep & inspection
- Caps & crowns
- Flue relining
- Masonry repair
- Gas fireplace service
Table of Contents
- What to Do in the First Three Minutes of a Chimney Fire
- Carbon Monoxide Indicators Specific to Chimney Systems
- Storm Damage to Caps, Crowns, and Flashing in Suffolk
- What to Document Before a Repair Contractor Arrives
- Post-Fire Chimneys That Look Fine but Aren’t
- Building a Chimney Emergency Preparedness Plan
- Why the Sweep Schedule Is Your Best Emergency Defense
What to Do in the First Three Minutes of a Chimney Fire
Chimney fires in Suffolk behave predictably when you know what to look for, and the good news is that a few seconds of clear thinking handles the first minute better than an improvised scramble. The single biggest mistake in the first three minutes is opening the firebox door wide to “take a look.” That feeds oxygen to a fire already consuming creosote in the flue above, and it can turn a contained burn into a runaway one.
Here’s the order of moves that matter.
- Shut the air supply. If the glass doors are closed, keep them closed. If they’re open and you can safely reach the handle without smoke rolling into the room, close them. Close the damper only if you can do it without dropping ash into the firebox; otherwise leave it and get out.
- Get everyone out and call 911. Yes, call. Fire departments would rather show up to a chimney fire that self-extinguished than arrive at a structure fire 20 minutes later. A chimney fire can spread into the attic or the framing around the chimney chase through heat transfer, not just flames.
- Don’t run water down the flue. A sudden temperature shock can crack a clay tile liner that was doing its job. What a fire-damaged liner does next is the problem.
- Don’t re-light. Ever, until the chimney has been inspected. A fire that seemed to burn itself out can still be smoldering in the surrounding chase.
- Note the time, smell, and sounds. Crackling, popping, a sound like distant thunder, a brief smell of burning paper, or smoke that comes out of the top cap as puffs rather than steady drift. That information goes in the notes on your phone and to the inspector.
You’ll notice we’ve skipped the DIY steps entirely. Chimney flues are hot, concealed, and often lined with material that’s already breaking down. If there’s any doubt about what’s happening inside the flue, that’s a job for a trained specialist with a camera on a rod, not for a flashlight at arm’s length. If it turns out you need chimney repair afterward, get it done before the next burn season. A repaired flue is the only safe flue.
Carbon Monoxide Indicators Specific to Chimney Systems
Carbon monoxide from a fireplace or wood stove often looks and smells different from what people expect, which is why it gets missed. That “different” quality is exactly what makes it worth learning. CO from a chimney system is not typically another household combustion source dressed up in disguise; it comes from your own wood fire being pushed back into the room because the flue stopped drawing, the chimney is blocked, or the negative pressure in the house flipped.
Here’s how chimney-related CO tends to announce itself, versus other sources.
- Timing tied to a fire. The alarm goes off during or shortly after a burn, not in the middle of the night with the fireplace cold. A furnace or water heater can set off a CO alarm at any hour. A chimney alarm usually tracks wood-burning activity.
- Smoke that comes back in. Rollback, that backdraft where smoke spills out of the firebox into the room rather than up the flue, is often the physical companion to elevated CO. If you see rollback at every fire, that’s a draft or blockage problem worth investigating immediately, not a minor inconvenience.
- Draft changes with wind and weather. A chimney that draws fine on a calm evening but reverses on a windy Suffolk afternoon or after heavy rain is telling you something about the crown, cap, or flashing. Wind-driven downdrafts can push CO into a room even with the damper open.
- Odors that don’t match a gas source. Natural gas and propane CO usually has a sulfur or “rotten egg” smell layered on top from the odorant. Chimney CO doesn’t. It’s odorless. What people often smell before a chimney CO incident is stale smoke, not the gas itself, and that’s the clue to act on.
- Headaches and drowsiness that improve away from the fireplace. The classic symptom picture. If symptoms clear when you leave the room or open windows, and return when you sit near the fire, treat that as a system problem, not a coincidence.
If any of this matches, get everyone out, open windows, and call for help before you investigate further. Then book an inspection. We answer 24/7 at (866) 361-9861, and fast dispatch from 7am to 7pm gets a technician out to look at the flue and the cap.
Storm Damage to Caps, Crowns, and Flashing in Suffolk
Heavy rain and high wind don’t typically take a whole chimney down, but they routinely take the parts that keep water out. Suffolk’s summer storms and the nor’easters that roll through the mid-Atlantic put stress on three components in particular. Knowing which one you’re probably looking at matters for how quickly a repair needs to happen.
- Caps. A wind-rated cap or a spark-arresting cap does double duty: it keeps rain and animals out, and it stops wind-driven downdrafts from shoving smoke back down the flue. When a cap is torn off or bent, the chimney’s draft changes overnight, and you can usually see it from the ground as a missing or leaning silhouette at the top of the stack.
- Crowns. The crown is the sloped concrete at the top that sheds water away from the flue. A hairline crack in a crown isn’t a storm result so much as a small vulnerability that storms expose. Freeze-thaw cycles after a wet storm push water into cracks, and every cycle widens them. If you see a chunk of concrete on the ground after a storm, or a visible gap between the flue tile and the crown, that’s a crown repair, not a wait-and-see.
- Flashing. The metal where the roof meets the chimney. Wind can lift it, rain can find the seam, and the leak often shows up inside as a stain on the ceiling or a musty smell in the attic rather than a visible drip. If you saw flashing move in a storm, get it checked even if you don’t see water yet.
Assessing all of this safely from the ground means binoculars and a phone camera with zoom. Stand back far enough to see the whole stack, look at the ridge line, and check the ceiling and attic for new stains. Only go up on the roof if you’re genuinely comfortable with ladders, dry shingles, and heights. Storm-damaged roofs are slippery, and a fall is a much bigger problem than a chipped crown. From our experience, the homeowners who call right after a storm usually spend less on the repair than the ones who wait for the next rain to confirm the leak, because by then the water has been in the framing for weeks.
What to Document Before a Repair Contractor Arrives
Insurance claims for chimney damage go faster when you have solid before-and-after documentation. Most homeowners only think to photograph after the repairman has already been on the roof, which is backward. Grab your phone as soon as you know something is wrong, and record the following.
- Date and time of the event. The storm, the fire, or the moment you noticed a problem. Notes on your phone are enough.
- Exterior photos from the ground. Stand back and photograph the whole chimney from at least two angles. Then zoom in on the cap, crown, and the roof-chimney junction. If you have a ladder and feel safe, closer is better, but ground-level shots plus zoom cover most of what an adjuster wants to see.
- Interior photos. The firebox, the damper, the visible portion of the flue, the ceiling above the fireplace, and the attic near the chase. Any stain, crack, or heat discoloration gets its own photo.
- Symptoms as they showed up. Water dripping after rain. Smoke rollback. An alarm that went off. A crack you can see. Write these down plainly. Adjusters rely on timelines.
- Do not throw away damaged parts. A shorn cap, a piece of crown, damaged flashing. If your contractor replaces a part, ask them to leave the old one for the adjuster’s inspection or photograph it before it’s hauled away.
- Keep your inspection or sweep records. If you’ve had the chimney swept and inspected annually through a company that works with trade-grade brands like DuraFlex, HeatShield, or Olympia Chimney, those records show the chimney was in good condition before the event. That’s often the difference between a smooth claim and a fight.
The photo and inspection record also does something else useful: it tells the contractor what they’re walking into before they climb up, so the first visit is diagnostic rather than a discovery. That’s the whole point of an inspection-first approach, and it’s why chimney sweep and inspection visits are worth documenting even when nothing’s wrong.
Post-Fire Chimneys That Look Fine but Aren’t
A chimney that’s had a fire can look completely normal afterward and still be unsafe to use. The exterior brick is intact. The firebox looks a little singed, but the walls seem fine. What you can’t see from the room is the flue liner, and a chimney fire does its real damage in places that require a camera to find.
Three things tend to happen to a post-fire chimney.
- Clay tile liners crack or spall. The thermal shock of a chimney fire can crack a clay tile all the way through, or flake the interior face so the next fire gets direct exposure to the mortar and brick behind it.
- Mortar joints in the flue erode. The joints between tiles and the mortar that binds the flue tile piers can be eaten away by heat and moisture. A gap in the mortar is a path for gases and heat to get into the surrounding structure.
- Creosote deposits in the wrong places. A chimney fire doesn’t always burn off all the creosote, and the deposits it leaves behind can shift into the flue offsets where a sweep brush won’t reach without proper access.
This is why a Level 2 inspection after any chimney fire is a code requirement under NFPA 211, not a recommendation. A Level 2 inspection includes a camera evaluation of the flue interior and accessible portions of the chimney’s connected appliances and surrounding structure. It’s the minimum standard after a chimney fire, after a chimney has been damaged by an earthquake or severe weather, or when a property changes hands. Skipping it because the chimney “looks fine” is exactly how a dangerous flue gets reused.
What a proper post-fire inspection should involve: a camera inside the flue, a look at the crown and cap from the roof, and a check that the firebox and damper are intact. From there, a scope of repair options is a conversation about evidence, not guesses. If the liner is compromised, HeatShield restoration can sometimes address mortar joint deterioration without full replacement, and a flexible liner system like DuraFlex can handle older flues with offsets that a rigid liner can’t navigate. Those are specific repair paths, decided by what the camera finds. We don’t recommend either until the inspection report shows the reason, and you can see the photos yourself.
Building a Chimney Emergency Preparedness Plan
The simplest emergency plan is a document on your phone and a phone number saved to your contacts. Nothing elaborate. Here’s how to put it together in an afternoon.
- Save the number. (866) 361-9861. Add it to your phone with a note: “chimney – 24/7 phones answered.”
- Save the 911 plan. In the contacts list, note who in the house calls 911, who gathers the pets, and where the family meets outside. Two adults, one clear set of assignments, decided now, not during a fire.
- Note the location of your CO alarms. One per sleeping area and one on each level is standard practice. Test each alarm on the first of each month, and write the test date on the back of the device. A CO alarm that isn’t working is worse than no alarm, because you’re relying on it.
- Store photos of your chimney. Twelve exterior and interior shots, from the ground and from inside the room. Two minutes now, saves twenty minutes later.
- Write down the last sweep and inspection dates. Confirm you have a written record. If you can’t find one, that’s your signal to book one before burn season.
- Note the extra steps for the appliance you own. A wood stove or insert has a different flue path than a masonry fireplace, and both differ from a prefab fireplace. Fires behave differently in each. The time to learn that is now.
The plan doesn’t need to be fancy. It needs to be findable in the dark, by someone a little panicked, in under ten seconds. If you’re the kind of person who saves things to their phone, this is the list to save. A Suffolk home with a well-swept flue and a documented plan handles an emergency better than one that’s simply been burning wood without a checkup.
Why the Sweep Schedule Is Your Best Emergency Defense
Most chimney fires are preventable. Creosote buildup is the fuel, and a properly swept flue is what removes the fuel before it becomes a problem. That’s the whole argument for annual sweeping in one sentence. It’s not about keeping the chimney tidy. It’s about removing what actually burns at the wrong temperature in the wrong place.
How often should you sweep? For a wood-burning fireplace that sees regular winter fires, annual sweeping is standard practice. For appliances burning green or unseasoned wood, or using a stove that runs hot and often, more often than once a year. For a gas appliance, sweeping is different but inspection still belongs on the schedule. A written inspection report after every sweep is the useful part, because it establishes a track record from year to year. Small issues caught early are cheap. Small issues that compound through a winter storm season or a chimney fire are not.
In Suffolk, the burn season is long enough that a chimney will likely go through close to a full creosote cycle every year. Sweep before the season starts, get the inspection, keep the report. That pattern alone handles 80 percent of the emergencies this guide covers, because it catches the causes before they become fires or leaks.
The other 20 percent is what to do when something breaks beyond your control. That’s where the plan and the trained technician come in. Our technicians have up to 12 years of experience working on chimneys specifically, not picking up chimney calls on the side. The difference shows when an inspection finds something a generalist would miss, and when a repair calls for trade-grade materials rather than a hardware-store substitute.
Common Mistakes to Avoid
- Opening the firebox door wide during a chimney fire. It feels like the obvious move to check what’s happening, but adding oxygen to a flue fire is the fastest way to make it uncontrollable. Keep glass doors closed and get everyone out.
- Assuming the chimney is fine because the firebox looks fine. The flue is hidden. Damage to the liner, mortar joints, or surrounding chase doesn’t show up on the inside of the firebox wall. Camera inspection is how you find out.
- Calling a repair contractor before documenting. Photos, dates, and old inspection records make the insurance conversation straightforward. Take them first.
- Treating a CO alarm as a false positive. Even one alarm should mean evacuation, a call, and inspection. CO doesn’t usually smell, and the symptoms often clear away from the fireplace, so a “false” alarm often isn’t.
- Waiting for the second storm to confirm a leak. A water leak into a chimney chase and adjacent framing gets worse with every storm. One call now beats a repair and a drywall job later.
- Re-lighting after a chimney fire without a Level 2 inspection. This is the mistake that causes the most expensive damage. A chimney that survived the fire won’t survive the next one if the liner is compromised. Re-use is not a judgment call; it’s a code requirement.
- Cutting corners on the cap. A missing cap lets rain and animals in and changes the draft. If you lose a cap in a storm, that’s a scheduling priority, not a someday thing. A trade-grade cap from Copperfield or Gelco lasts through the next storm because it’s built for it. A repurposed hardware-store part often isn’t.
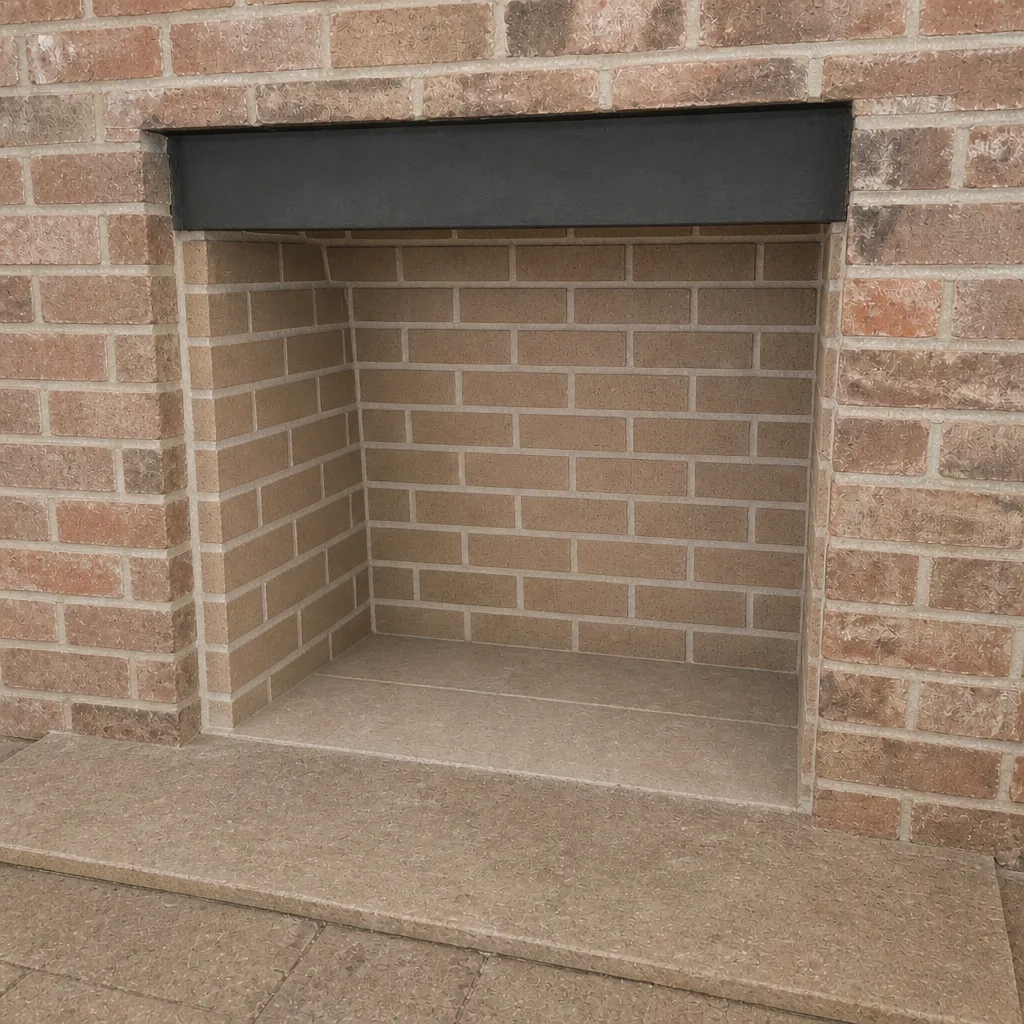
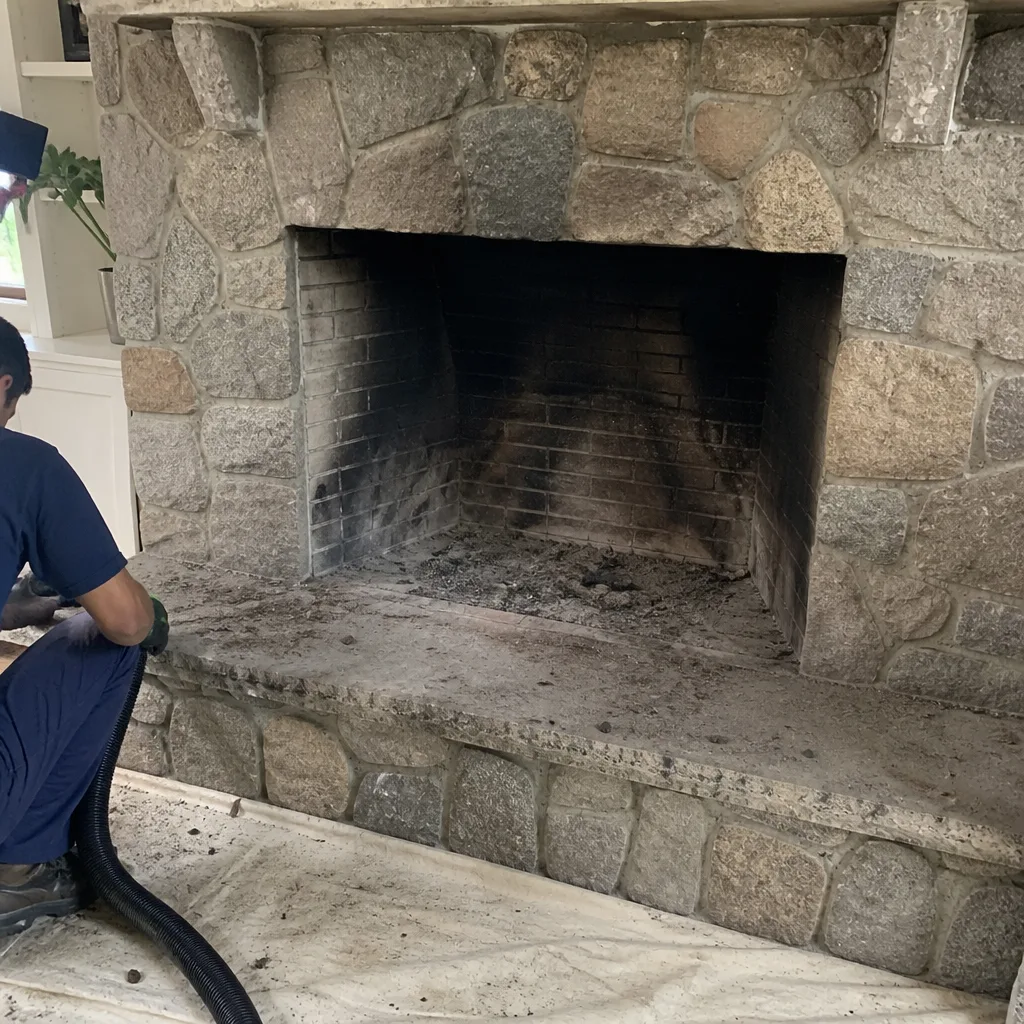
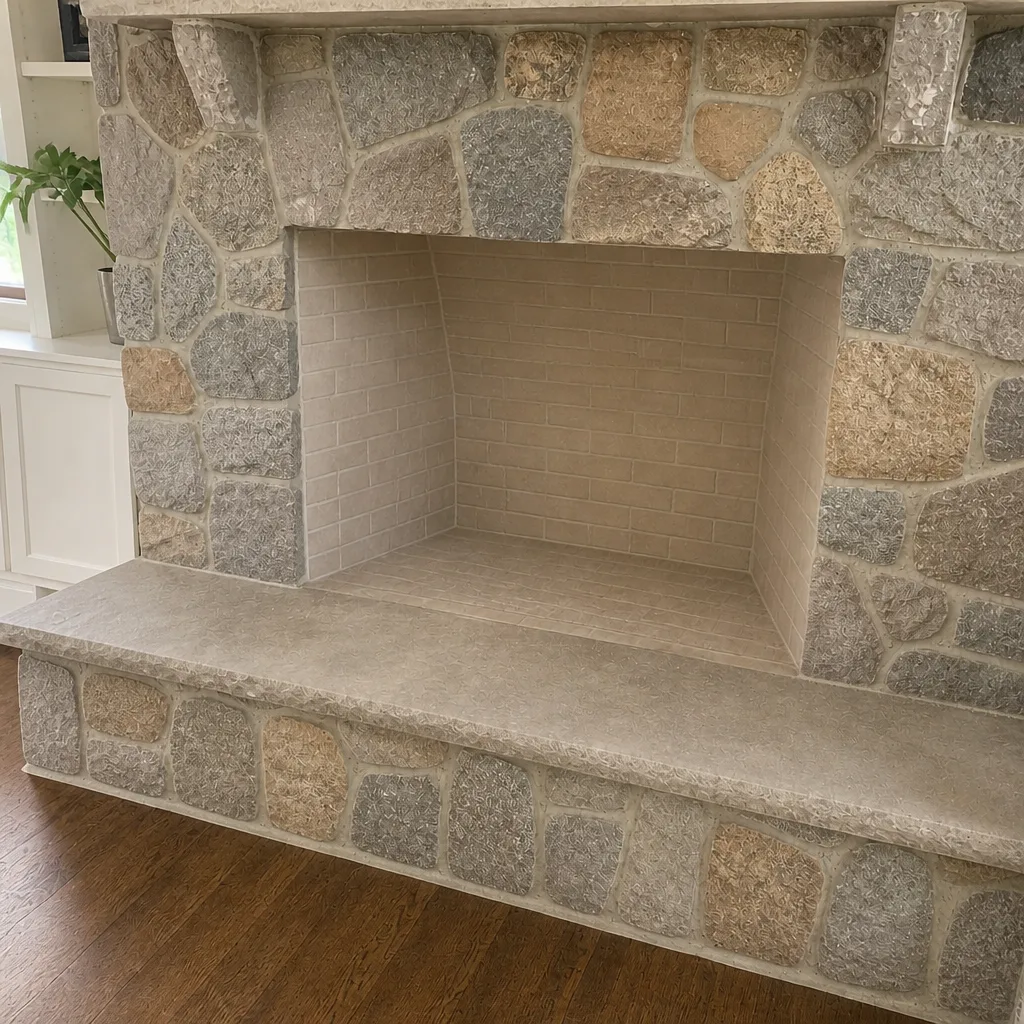
See the difference
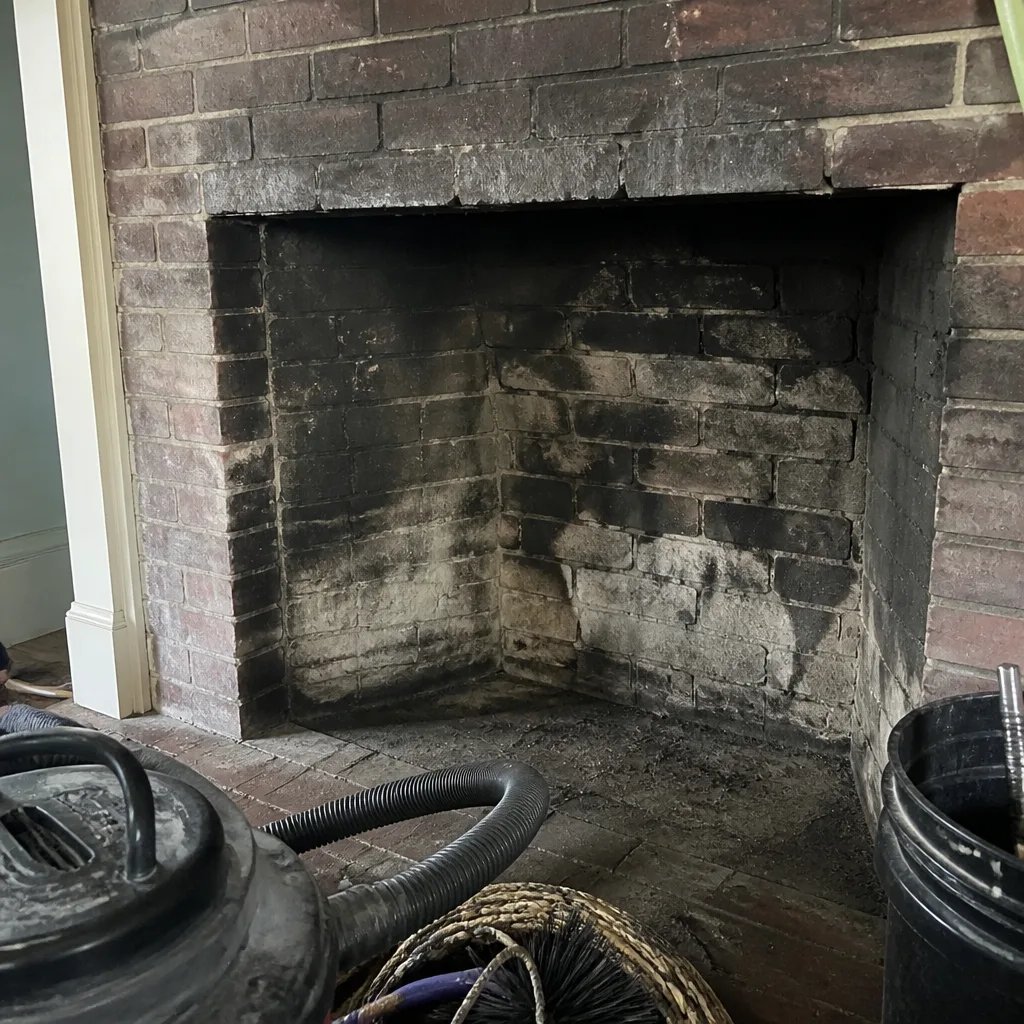 Before
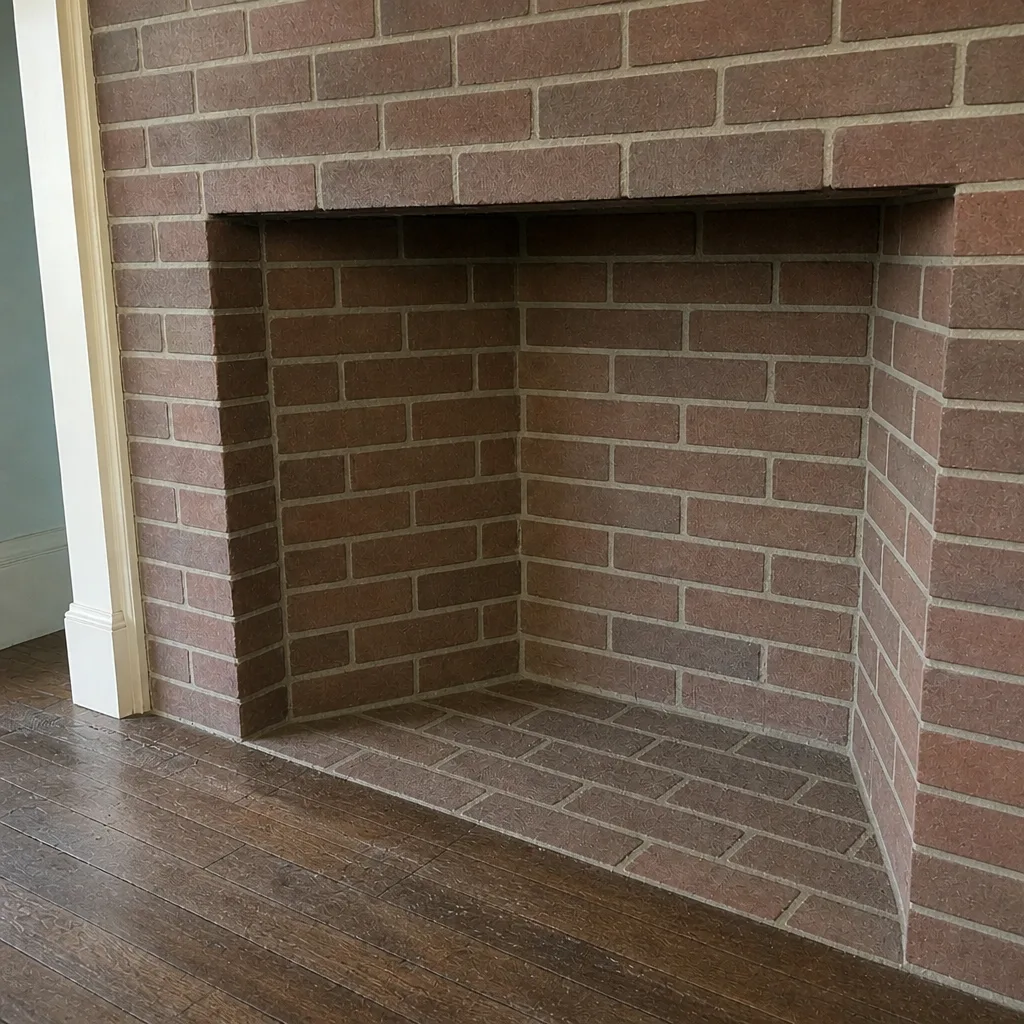 After
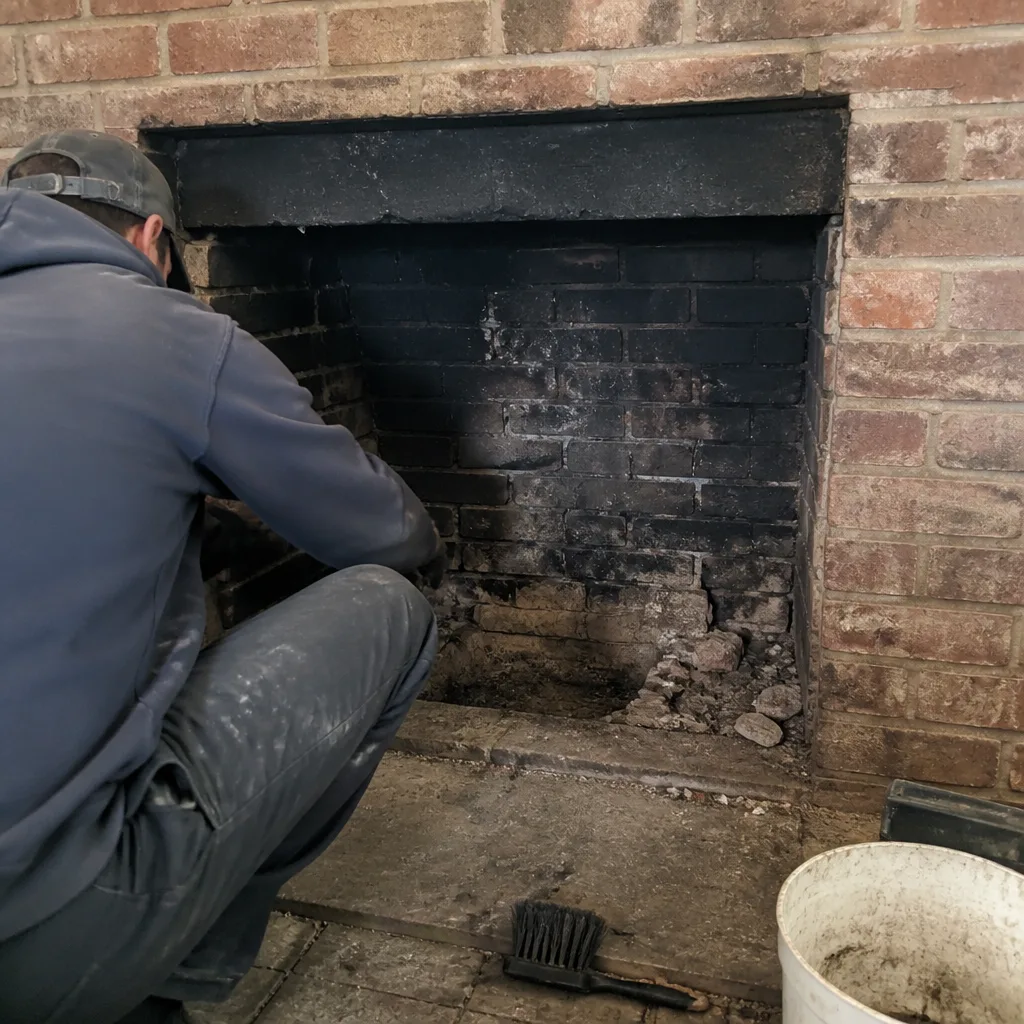 Before
 After
 Before
 After
When to Call a Professional
Some problems can be assessed from the ground with binoculars. Others need a trained eye, a camera, and a written report. Call for a professional inspection any time you’ve had a chimney fire, even a small one. Call if a storm took the cap off, cracked the crown, or visibly lifted the flashing. Call if you see smoke rolling back into the room at every burn, if a CO alarm has gone off, if a home sale inspection flagged something on the chimney, or if you’re simply starting the burn season and haven’t had the flue swept in over a year. Any of those scenarios means a trained technician should look at it before the next fire is lit. Chimney Sweep Suffolk offers free estimates in Suffolk, call (866) 361-9861. We answer 24/7. Fast dispatch from 7am to 7pm, Sunday through Friday.
Frequently Asked Questions
Close the glass doors or damper if you can safely reach it, get everyone out, and call 911. Keep the firebox closed so you don’t feed oxygen to the fire, don’t pour water down the flue, and don’t re-light the fireplace until a Level 2 inspection has confirmed the flue is intact. Call (866) 361-9861 to book the inspection, free estimate included.
Carbon monoxide from a chimney system usually means the flue isn’t drawing properly, the chimney is blocked, or negative pressure in the house pushed combustion gases back into the room. Unlike gas appliances, chimney CO typically arrives during or shortly after a fire and often accompanies smoke rollback. Evacuate, ventilate, and book an inspection. Call (866) 361-9861 to schedule; we answer 24/7.
Yes. NFPA 211 requires a Level 2 inspection after any chimney fire, after a chimney has been damaged by severe weather, and when a property changes hands. It includes camera evaluation of the flue interior. A chimney that looks fine from the firebox can have a cracked liner or eroded mortar joints hidden from view. Call (866) 361-9861 for a free estimate.
From the ground, with binoculars or zoom. Look at the cap silhouette, the crown, and the roof-chimney junction. Inside, check the ceiling and attic for new stains. Only climb the roof if you’re genuinely comfortable with heights and dry shingles. If you see a missing cap, cracked crown, or lifted flashing, book an inspection. Call (866) 361-9861 for a free estimate.
Date and time of the event, exterior shots from two angles plus zoomed-in shots of the cap, crown, and roof-chimney junction, interior shots of the firebox and flue, and any stains in the ceiling or attic. Include your old inspection and sweep records if you have them. Those photos speed up an insurance claim later. Call (866) 361-9861 to book the repair inspection.
Annually for most wood-burning fireplaces, more often for stoves burning unseasoned wood or running hot most of the winter. The sweep is the emergency prevention. A written inspection report after each sweep establishes a record that matters for future insurance discussions. Call (866) 361-9861 to schedule a sweep; free estimate for any repair that comes out of it.
The Bottom Line
The three chimney emergencies most likely to show up in a Suffolk home are chimney fires, carbon monoxide events, and storm damage to caps, crowns, and flashing. Each follows patterns you can prepare for. Close the doors and get out for a fire. Evacuate on a CO alarm and don’t trust a silent alarm that’s never been tested. Assess storm damage from the ground and document before the repair. And book a Level 2 inspection after any chimney fire, because a chimney that survived one won’t survive the next if the liner is compromised. The annual sweep is what removes the fuel in the first place. That’s the whole plan, and it fits on a page. Call (866) 361-9861 for a free estimate. We answer 24/7. Fast dispatch from 7am to 7pm, Sunday through Friday. For more on how we handle Chimney Sweep Suffolk services or chimney work across Suffolk, we’re glad to talk through what your chimney needs before the season starts.
Written by the team at Chimney Sweep Suffolk.